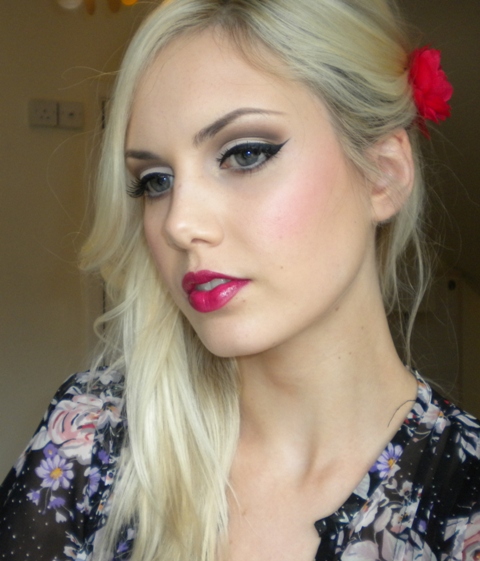
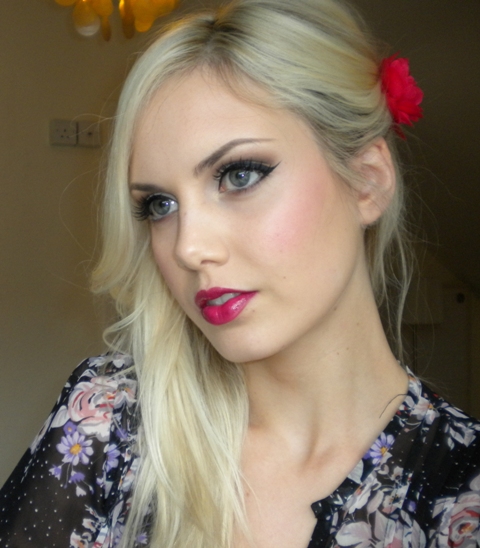
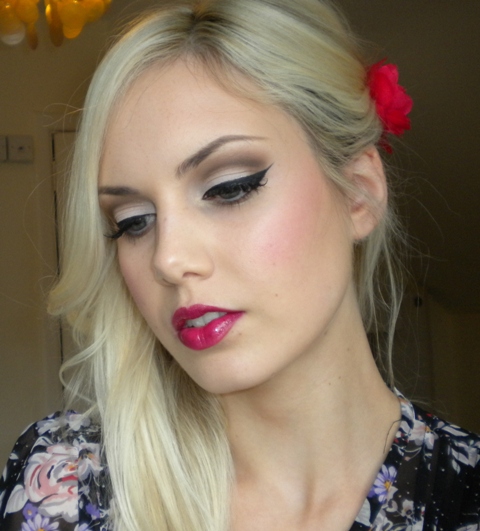
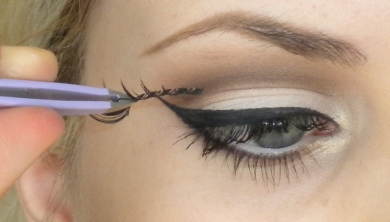
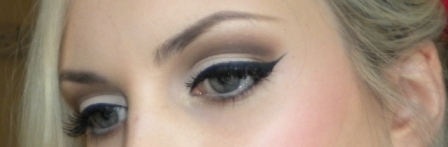
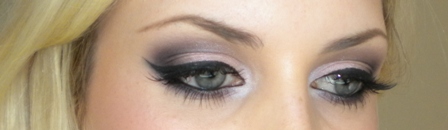
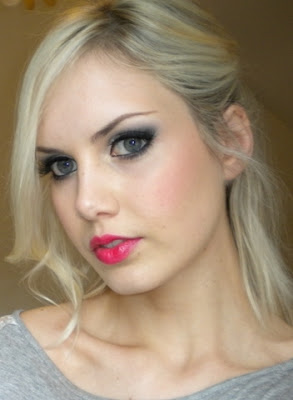
Something a bit more fun today - dramatic grey eyeshadow with a pop of bright pink on the lips to brighten things up! You could tone it down with a nude lip though too if you wanted. Hope you enjoy it!
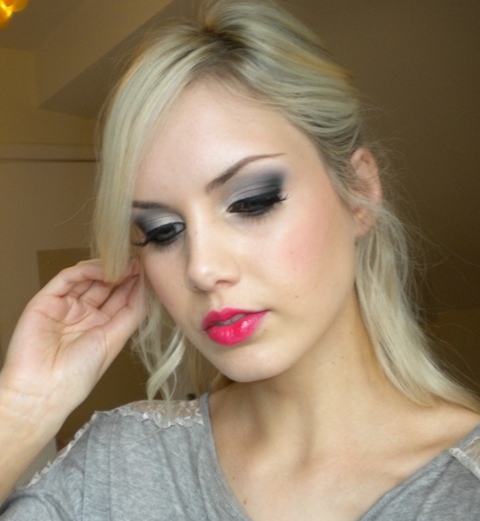

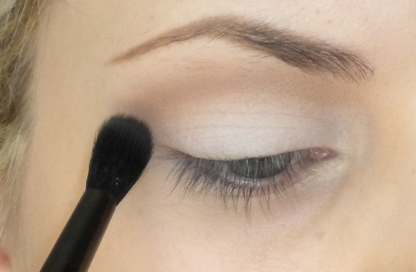
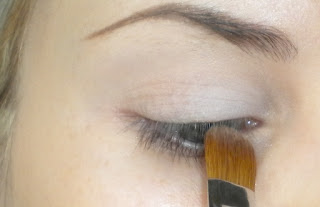 1. Apply MAC Painterly as a base. Sweep some Vanilla eyeshadow (or any shade which is close to your skin tone) all over the lid up to the brow. This ensures that the following eyeshadows will blend seemlessly. Next take some Gesso eyeshadow and appy it to the inner half of the lid.
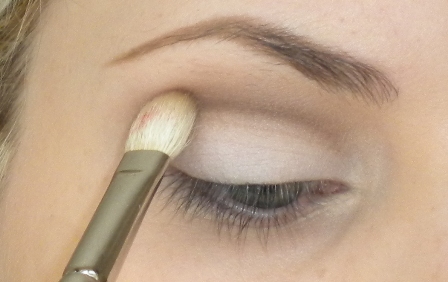
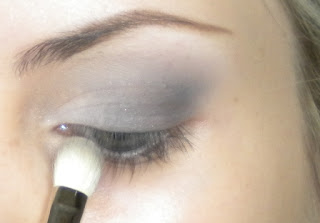 2. Take MAC Scene eyeshadow or another medium grey shade and, with a flat brush, apply this to the outer half of the lid. Now take a fluffy blending brush like the MAC 217 and blend this across the lid into the Gesso shade.
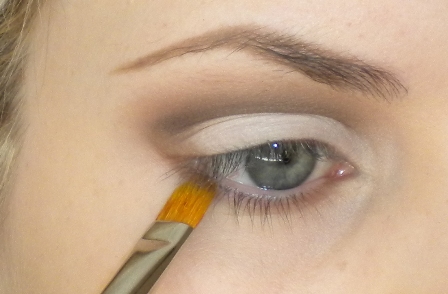
 3. Now take a dark grey (I'm using MAC Typographic) and apply this to the outer corner of the eye on a flat brush. I created an angled shape with this. Use the same flat brush to sweep the eyeshadow across the lid into the medium grey shade. So there should be a nice graduation of colour now from light to dark.
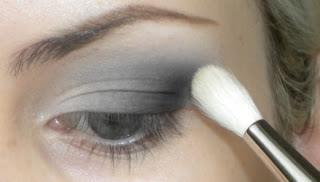 4. Take some more Vanilla eyeshadow and use this to blend around the edges so that they're not so harsh. I used a MAC 222 Brush for this.
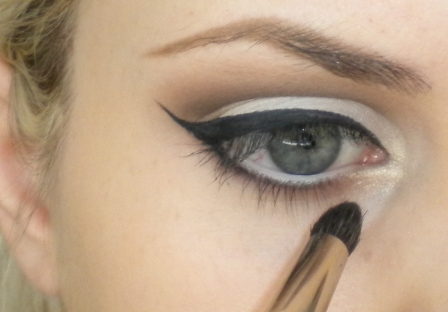
 5. Take some of MAC Scene and run it under the eyes. Now take some shimmer (I used a Make Up For Ever Star Powder) and press this over the area where the Gesso eyeshadow was applied on the inner corner. Take it around the tear duct area too.
 6. With a gel or liquid liner, line your top lash line. Apply some black liner to your waterline too. Add mascara to top and bottom lashes. Apply some false eyelashes and that's it!
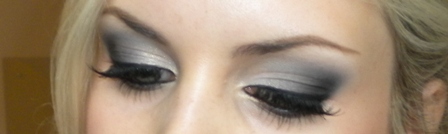
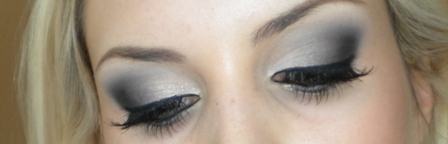
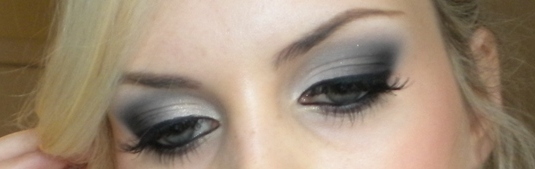
Here's the finished eye make-up again.........
I hope everyone had a great week/weekend. I received my Visa for Australia a few days ago which is equally exciting and extremely scary! It definitely hasn't quite hit me yet that I'll be moving there very soon. Trying to think of how I'm going to manage packing everything is really beyond me at the moment. It will definitely be very nice to be going somewhere with some lovely sunshine though. I'm going to be passing through California too for a few days on my way there which I absolutely can't wait for. I lived in California for a few months several years ago and I love the place so it will be so nice to be back there. Beats Ireland any day! :D


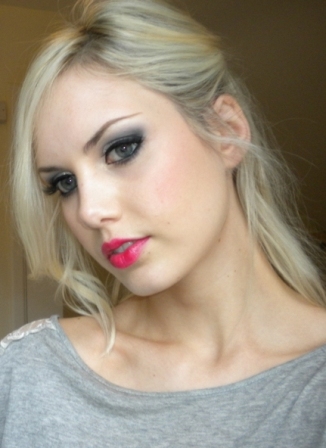
~ Products Used ~
Face:
Chanel Pro Lumiere Foundation 20
Make Up For Ever Lift Concealer #3
Make Up For Ever Star Powder on cheekbones
MAC Prep & Prime Powder
MAC Matte Bronzer
MAC Pink Swoon Blush
Eyes:
MAC Painterly Paint Pot
MAC Vanilla, Gesso, Scene & Typographic
Make Up For Ever Star Powder #902
Clinique Cream Liner
Max Factor False Lash Mascara
Ardell Demi Wispies
Laura Mercier Blonde Brow Pencil
Lips:
Dior Addict Lipstick in 865 Collection
 1. Apply MAC Painterly as a base. Sweep some Vanilla eyeshadow (or any shade which is close to your skin tone) all over the lid up to the brow. This ensures that the following eyeshadows will blend seemlessly. Next take some Gesso eyeshadow and appy it to the inner half of the lid.
 2. Take MAC Scene eyeshadow or another medium grey shade and, with a flat brush, apply this to the outer half of the lid. Now take a fluffy blending brush like the MAC 217 and blend this across the lid into the Gesso shade.
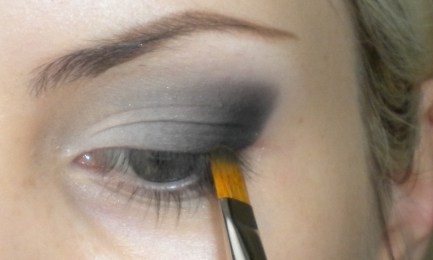 3. Now take a dark grey (I'm using MAC Typographic) and apply this to the outer corner of the eye on a flat brush. I created an angled shape with this. Use the same flat brush to sweep the eyeshadow across the lid into the medium grey shade. So there should be a nice graduation of colour now from light to dark.
 4. Take some more Vanilla eyeshadow and use this to blend around the edges so that they're not so harsh. I used a MAC 222 Brush for this.
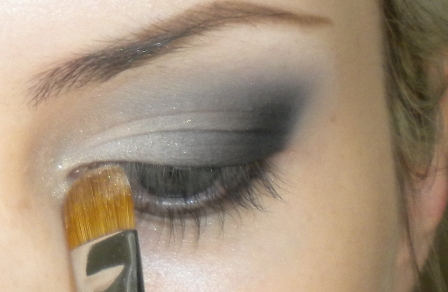 5. Take some of MAC Scene and run it under the eyes. Now take some shimmer (I used a Make Up For Ever Star Powder) and press this over the area where the Gesso eyeshadow was applied on the inner corner. Take it around the tear duct area too.
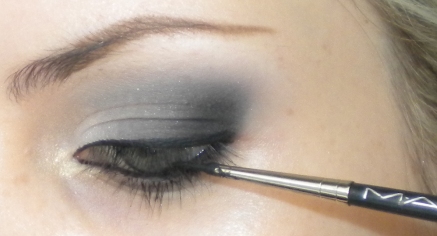 6. With a gel or liquid liner, line your top lash line. Apply some black liner to your waterline too. Add mascara to top and bottom lashes. Apply some false eyelashes and that's it!
Here's the finished eye make-up again.........
I hope everyone had a great week/weekend. I received my Visa for Australia a few days ago which is equally exciting and extremely scary! It definitely hasn't quite hit me yet that I'll be moving there very soon. Trying to think of how I'm going to manage packing everything is really beyond me at the moment. It will definitely be very nice to be going somewhere with some lovely sunshine though. I'm going to be passing through California too for a few days on my way there which I absolutely can't wait for. I lived in California for a few months several years ago and I love the place so it will be so nice to be back there. Beats Ireland any day! :D