Showing posts with label manicure. Show all posts

Tuesday, July 12, 2011

Nail of the Day: Wednesday 13th July, 2011

 My last nail polish began to chip and I decided I wanted to wear a nail polish of mine that I haven't tried out before.


This is a colour I brought home for my friend Emma when I do her manicure next time she comes over. The colour is China Glaze "Entourage", a light lime green shimmer which is pretty much opaque in three coats.


I kinda like this colour, just something bright and cheery in the cold winter weather. Something different than what I normally wear. To be honest, I used to think that green nail polish used to make your nails look like they were diseased, but this colour doesn't really have that effect.

On a different note, I noticed something today. Recently I have been watching a few Jack Nicholson movies, which include "Something's Gotta Give", "As Good As It Gets" and "The Bucket List" to be exact, an in all these movies they have one song in common, "La Via En Rose" by Louis Armstrong. Just a little bit of trivia for you lol.


Sunday, July 10, 2011

Nail of the Day: Friday 8th July, 2011

So I have bee craving a change from my dark nail polishes and wanted to wear something bright and in my favorite colour.


China Glaze "Shower Together" a cream medium teal blue nail polish from the Ecollection (2008). This is my "cheer me up when I am feeling low" colour, even though it is a cool tone which should make me more upset but it does the opposite. I love the cream finish polishes as well so this has a favorite colour and a favorite finish, perfect combo!


I would like to find more teal colours. As some of you may know by now, teals and purples are my favorite colours. I have LOTS of purple nail polishes, but I would like to get some more teals, so if you have any suggestions please let me know.


Monday, June 27, 2011

Nail of the Day: Tuesday 28th June, 2011

I decided to change my nail colour today because my previous nail polish had been chipping with the things that I had been during my week.

Yesterday was my 8 months with my boyfriend, Stuart, so I got him to pick out this nail colour for me. China Glaze "Gussied Up Green" is a blackened dark blue green which shines really bright when the light hits it. This polish is also from the Rodeo Diva Collection (2008) like the last nail polish I posted.


This was definitely my favorite polish from this collection because I don't own that many green nail polishes and I love the darker tone of this.


I really love wearing dark colours like this in winter. I like how they appear really dark on their own but when the light hits them the show up a flash of colour. What are your favorite polishes for winter?


Wednesday, June 22, 2011

Nail of the Day: Thursday 23rd June, 2011

This week I have been feeling really sick and I haven't been in too much of a happy mood so I decided to paint my nails to make me feel better. The nail polish I chose to use is called China Glaze "Wagon Trail" and is from their Rodeo Diva Collection from 2008. (I currently only have pictures from my old blog to post of my nail polish so I'll update this properly another time.)


As you can see it is a black with a deep golden shimmer. In some lights it can have an olive green look to it but its really is black and gold and is very unique.


I haven't found anything else like this in all my nail polish searching (mind you, I'm not as hung up on nail polish as some people).

I felt like this was the perfect colour for me at the moment because its been so cold and gloomy at my place the past few days with it being winter, I felt like I needed a dark base with a gold flash that might brighten up my day.


Sunday, June 19, 2011

How To: Manicure

The following post is a written example of how I perform my weekly manicure on myself and on clients. Some of you may not know but I am a qualified nail technician and this is how I was taught to perform manicures in my classes.


Currently the items that I use for my manicure and pedicure are all from the company "Natural Look" because I feel that if you use products from the same line work better because they are designed to work together in the same step system.

I am in no way affiliated with Natural Look and I bought all these products with my own money.

Step One - Cuticles:
 
I use the spoon and of a cuticle pusher to push back my cuticles. I then apply the Natural Look Erase cuticle remover and wait 2 minutes before using the blade on the cuticle pusher to remove my cuticles.
I NEVER cut my cuticles. The cuticle protects the nail from bacteria that could infect the nail and cause damage and cutting it creates a risk of bacteria getting in.


Step Two - Filing:

Next I file my nails using a 180/180 grit file, the one I use is the Grey Fox file from EzyFlow. I shape the free edge of my nail and then lightly file the surface of the nail to remove any ridges. I then use a nail brush to dust away any filing dust.
I then use a double sided buffer with a 220/280 grit, the one I use is the Sand Shark buffer from EzyFlow. I use the 220 grit side first to buff the surface of the nail and then do the same with the 280 grit side, brushing away the filing dust at the end of each step.
After the double sided buffer, I use a shine buffer to buff my nails to a high shine, the one I use is the Killer While buffer from EzyFlow.

NOTE: Make sure to remove the filing dust in between each file to prevent scratching the surface of the nail
Also, don't file to harshly or too often, this will make the nail thinner and more prone to breaking


Step Three - Soak Nails:
 Next, I fill a small bowl with warm water and pour some Natural Look Hand and Nail Softening Soak. This softens the skin and cuticles and contains tea tree, chamomile, lavender and peppermint which are used for their antiseptic and therapeutic qualities. I soak my nails in this for about 15 minutes.
If my nails have had a lot of exposure to nail polish and are looking a little yellow, I add a teaspoon of OPI Effervescent Soak which helps to lift the stains in my nails easily. I still soak my nails for the same amount of time.


Step Four - Exfoliate:
When my hands are looking particularly dull and dry, I exfoliate my hands using Natural Look Hand and Body Exfoliating Gel. This gel contains lavender, rosemary, geranium and tea tree essential oils and has a sandy gritty texture. I massage this into my hands and then wash away using warm water. The good thing about this stuff is that you can use it on your body as well, I often use it on my elbows because they get dry easily.


Step Five - Moisturize:
After drying off my hands, I apply Natural Look Hand and Nail Moisture and massage it into my hands. This moisturizers is thicker than any other I have used which I find better because you use less. It also sinks into the skin faster than any other hand cream I have used and protects from damaged caused by weather, water and chemicals.
The final step to my manicure is to apply Natural Look Nourish cuticle oil which helps to keep your cuticles soft and nourished. Using this will also help retain moisture in your nails so that they are more flexible and less prone to breakage.


After Care:

On a daily basis I apply my Natural Look Hand and Nail Moisture and also apply a small amount of Natural Look Cuticle Therapy Cream to your cuticles.


Hopefully this has given you a short written tutorial of my manicure. I film a tutorial and post it here in the future if I get any interest.


Wednesday, December 1, 2010

LiLo's "F- you" Court Manicure!!


Boy, was I excited to recreate this one! Lindsay Lohan may be lots of things, but somehow I always like what she's wearing, or how she looks. For her court date back in July, she opted for a super girly and cute, airbrushed pastel manicure with a very naughty hidden message: "fuck u" written right in the middle fingernail. How passive-agressive! Here's how I did it:

Start with clean, short nails, buff them and use a base coat (I always use OPI).

Then, apply the nail polish with a sponge. I used an old eyeshadow applicator, because i'm on a budget here! But you can get a fancy one from Konad (I want it!), or one of those foamy makeup applicators.

What I used
After sponging. We'll clean up later!


Drip 2 or 3 drops of nail polish on a flat surface (I did it on an old plastic tray somebody gave me and I never ever use), Dip your sponge in it and apply to your nail in a taping motion, just little dabs here and there. You have to leave room for at least 3 colors. Repeat this step with every polish for a multicolored effect. It's ok if you don't completely cover your nail. I think Lindsay's show a bit of natural nail down the middle.

Next, we are going to stamp our nails with the leopard print on Konad's image plate m57. I didn't want the print to be that blunt, so I used a regular nail polish instead of the Special one for a soft, almost ethereal look. You can also use a nail art pen or an art brush and do this step freehand.

Finally, you can write an offensive message of your own, or copy Lohan's infamous words.  Use a nail art pen, or a Sharpie for this step.  I skipped it, I thought it wasn't office appropiate, LOL.  Seal your design with 1 or 2 coats of your favorite top coat.

Lindsay Lohan


My version. Please excuse my crooked fingers!
I think my design looks a lot like Lindsay's, and I really like it on her, but I just don't know how to feel about it.  I'm not sure the color combination looks good with my skin tone, but still got some compliments :)

I used Sally Hansen Xtreme Wear in Blue Me Away, Bubblegum Pink and Sun Kissed (toned done with a few drops of white).  For the white leopard print I used NYC French White Tip.

Wednesday, October 27, 2010

Vamp

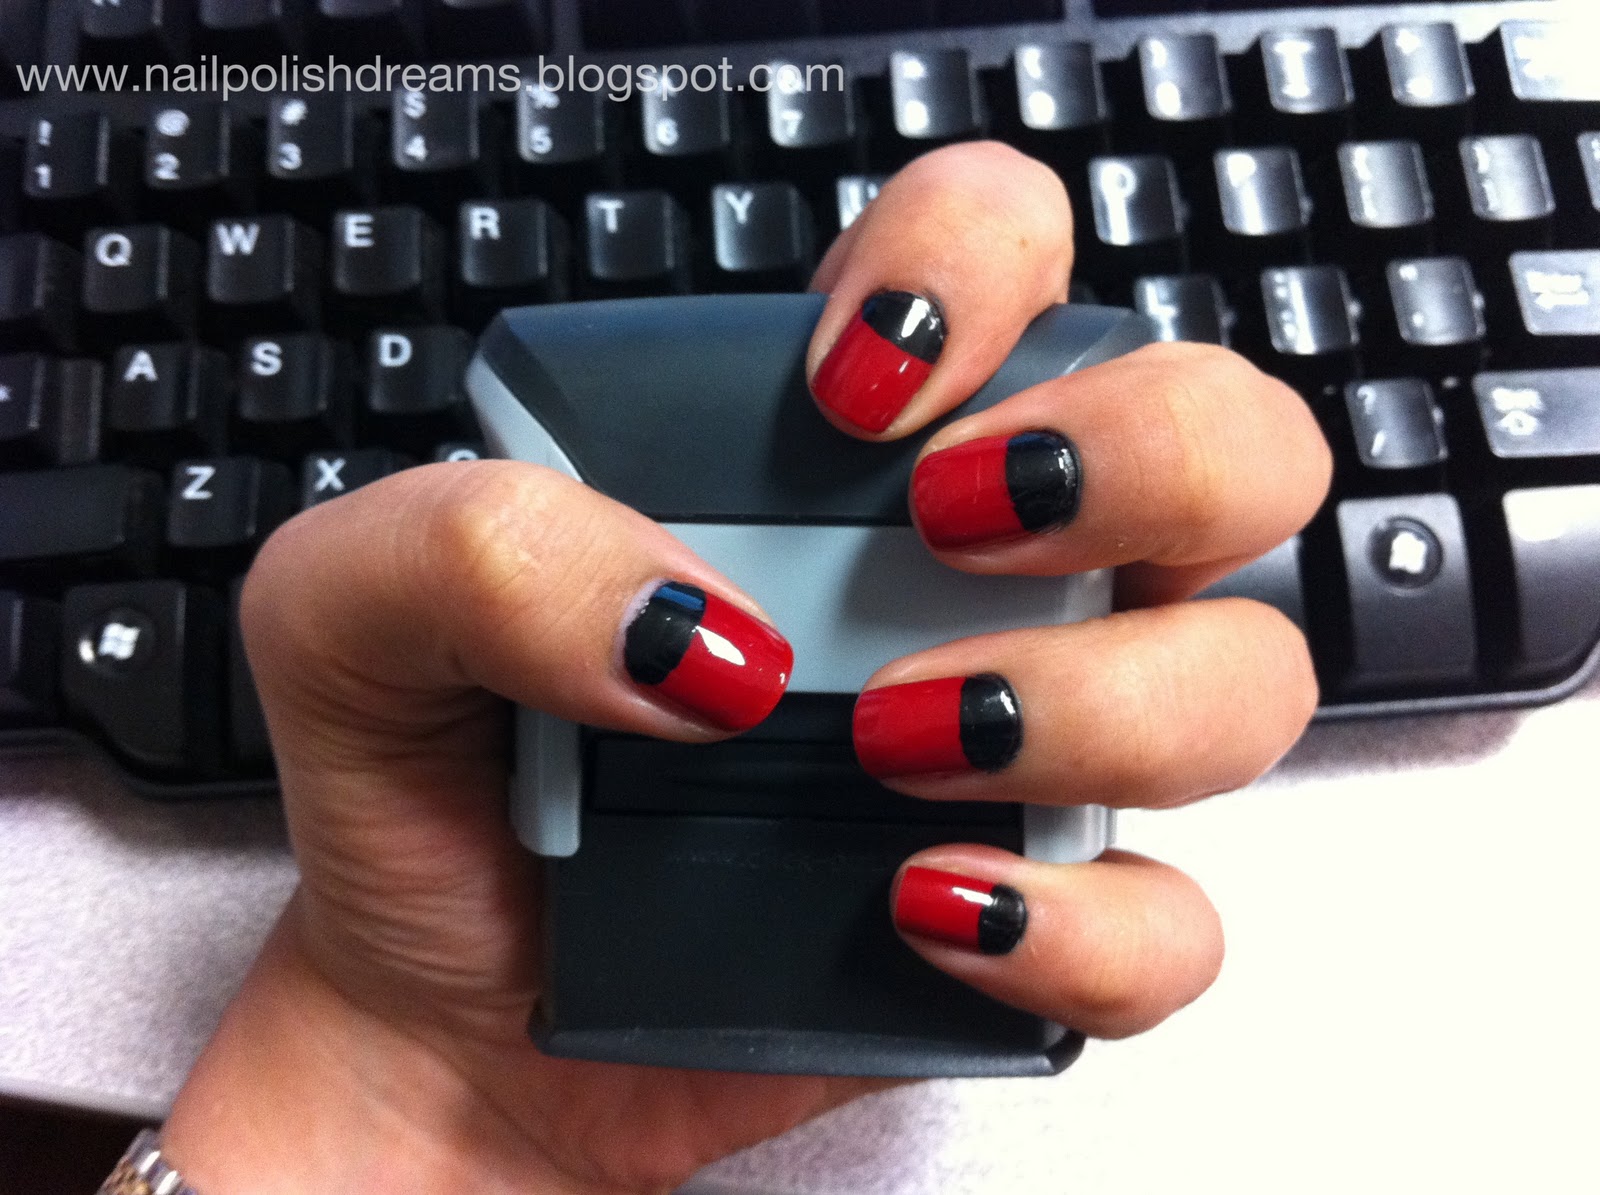
This is what i'm wearing as a "Halloween Mani", it is not as out there as an Orange-Black combination, or as jack-o-lantern patterns, but I think of it as a bloody, vampy, more sophisticated version of a halloween mani.  I started out with blood red nails as a base (Remember I was wearing those Incoco decals?) but you can wear any color that you like, maybe a shimmery orange.  Then, for the crescent moons, I used a nail art pen from Sally Hansen in Black Creme.  Nail pens are very easy to use and you can create so many looks with them, the possibilities are endless! So basically you just draw a half circle in the upper area of your nail and fill it out with the black pen (or you can use some other nail polish brush, it's up to you).  Sorry about the small pics,  I couldn't find my camera so I had to use my phone.


I wore the crescent moon mani for a day, then I decided to add some dots to make it more fun, and this is the end result.


Very simple, but I got so many compliments at work! I hope you guys like it.  I think it looks great by itself, I added dots, but you can add maybe a cool decal, or a rhinestone, or you can invert the colors in one of the nails, use different colors, do a little something different so you can make it your own. 


Sunday, October 24, 2010

Polka Dot Mani

I sported this manicure last week and got a few compliments, so I decided to recreate it here...
I got the inspiration a couple of weeks ago, as I was standing in line in H&M. They had some posters in the cashier area and the models had something very similar on their nails.
For this one, I used Sally Hansen Complete Salon Manicure in Grey by Grey as a base, and Lavender Cloud for the dots.  I inverted the colors on the ring finger just for fun.
I used a dotter nail art tool for the dots.  You can buy it online, I think I saw them going for $3.00 in ebay, but if you guys can't get a hold of one, you can use stuff you have around your house like a toothpick, a bobby pin, or the fine point of a orange wood stick cuticle pusher.
It's a very easy way to spice up your nail polish, it looks great and it's inexpensive.
Now, the nail polishes... I ADORE both shades! They are super interesting and unique. What I don't like is the brush on these. It's rounded and thick, and it makes the application very difficult for me. The formula is awesome, almost opaque in one coat, but I always give it at least 2, just for peace of mind (I hate visible nail line).


Anyways, what do you think about it?  What other colors would look good together?

Pink Before You Leap swatch

As you guys know, my nails are currently unavailable for new polish, as I am trying out the Incoco nail appliqués (see post below), but I borrowed my sister's hand to swatch this for you guys.
She wanted a "date night" mani, she really liked the way it looked on the bottle, and we are both OPI suckers, so she went for this one.  This is from the Brights collection, and it's a shimmery, nudish pink.  Looks gorgeous on the bottle, however, it looks slightly different on the nail, because it is very sheer.  It took 3 coats to look like this!
On the positive side, it is a very forgiving shade so I suppose you can wear this for the longest time because the little chips will go unnoticed. Very flattering to all skin tones as well.


This picture above was taken with flash, the one below with natural light.

How do you guys like it? How would you wear it?