Showing posts with label Incoco. Show all posts

Thursday, January 6, 2011

Nail Fraud: Disco

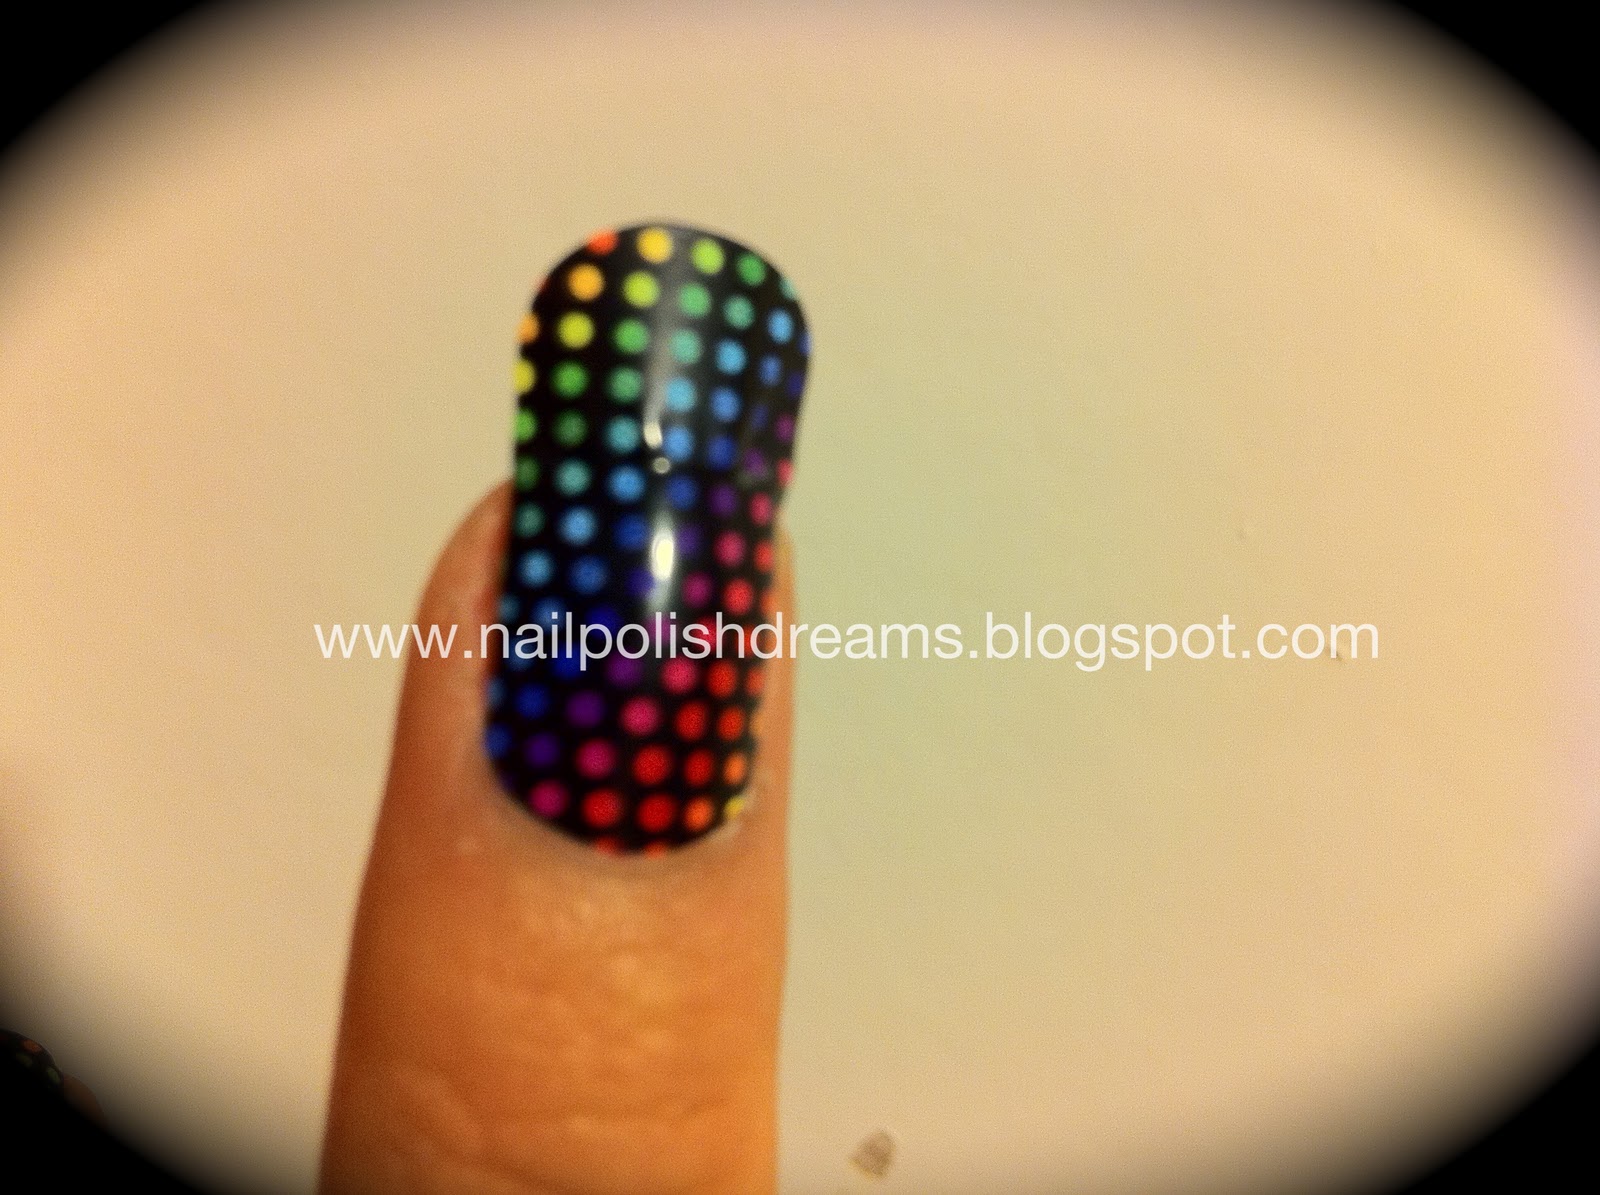
I have another Nail Fraud post, and this will be my last one, because i'm out of decals, but I think I saved the best for last.  I have to say that this is my favorite print from the 3 sets that I got.  The design looks amazing, but I do have one big fat complaint, though.  This set was very different from the others.  The other decal's presentation was very similar to the Incoco appliques, they have a protective film on top, and they apply better, they kind of bend to match the shape of your nail.  But this ones really just look and feel like plane ol' stickers! They do not have a protective film and they are very hard to match the shape and curves of the nail, they feel kind of stiff on the nail. Also, they didn't came inside a sealed package.  On the other appliques, if you are left with wrinkles on them, they often disappear the next day (I think heat helps with this), but not with Disco.  I applied them yesterday and I still have stiff wrinkles towards the free end of my nails (and I don't think they are disappearing any time soon!).  Also, the print seems very fragile, like any little scratch is going to damage it, so I applied a thick coat of a glossy top coat over it.  In the end, the result looks pretty cool, because this design is amazing and colorful, so I am happy with how my nails ended up.  See for yourself. Click on the pics to make them bigger.

Hold decal with thumb and index, apply close to the cuticles. If you mess up, gently remove the decal and reapply

File off excess with nail file (Nail fraud includes this cool nail file!)

Final result! See the gloss? I used OPI's top coat

This is NF's Goldfinger sealed package, with a holding strip and protective film over decals

This is how Disco looks in the package, very different! It lacks all those cool extras that the other designs have!

Saturday, December 25, 2010

Incoco Nail Polish Strips Review/Tutorial: 24 Karats: Gold Bling

Merry Christmas everyone! In the spirit of Christmas, I'm going to talk about one of the most gorgeous gold nail polishes I've ever seen - but it doesn't even come in a bottle! Incoco Nail Polish Strips in 24 Karats is a gold glitter that blings and shines under both low light as well as strong light, and it's absolutely gorgeous to look at. It's also perfect for the festive Christmas season just upon us!

Incoco nail strips 24 karat

Incoco calls their products dry nail appliques, but they're strips of nail polish that you peel off from a backing and stick onto your nail. Pretty cool, right? I've tried a couple of them, and while they do have a slight learning curve, once you get them right, they're very easy to use, and produce a very professional effect.
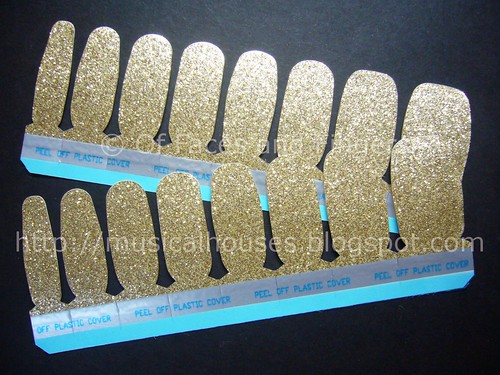
incoco nail strips 24 karat


However, it can get a bit used to applying nail polish strips instead of liquid nail polish, so here's a step by step guide of how to apply them:

1. Find the size of nail strip that most closely matches the size of your nail, and tear off the relevant nail strip. In this case below, I'm using the last strip for my little finger.
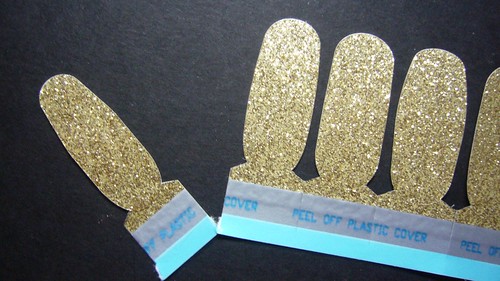
incoco nail strips 24 karat


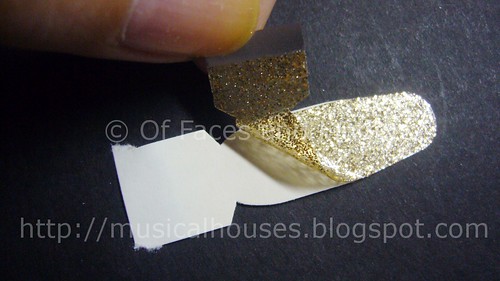
2. Peel off the plastic covering on top of the strip. Then peel off the nail polish strip from the paper backing. Be careful not to tear the strip when doing this!
incoco nail strips 24 karat


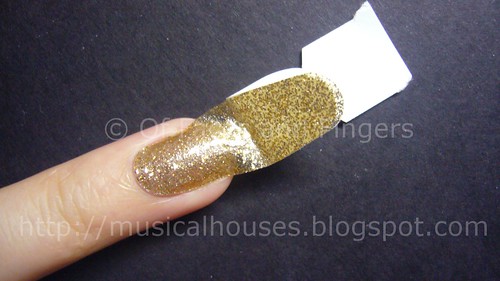
3. Gently smooth the strip over the nail. I personally find the easiest way to do this is to start with center of the nail, and smooth out towards the sides to avoid any wrinkles in the strip.
incoco nail strips 24 karat


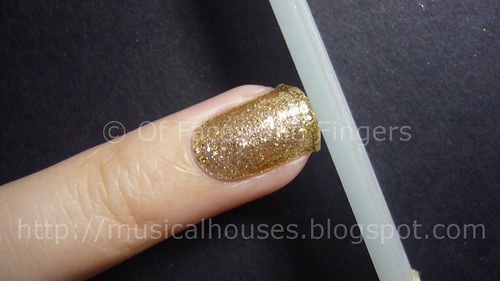
4. File off any excess nail polish strip. I think the best way is to file downwards, isntead of from side to side. This way, the strip isn't disturbed by any filing motion.
incoco nail strips 24 karat


5. And viola! All done.

incoco nail strips 24 karat


I guess the fit of the appliques for the nails would vary from person to person, but for me, I found that I was able to find a match for all my nails. I thought the strips were nicely sized, and they also matched the natural curvature of my nails and cuticles. I also liked that these strips were very thin, unlike some other nail appliques I've tried, and thus easier to place on the nail. As far as nail strips go, I think these are one of the best.

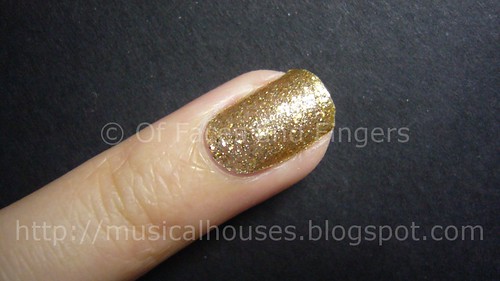
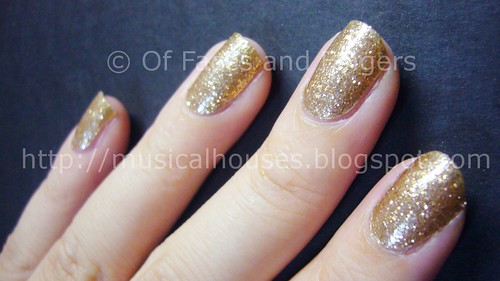
Here's 24 Karat, in it's full glory. I don't think I ever got such a neat gap by painting manually, LOL.
incoco nail strips 24 karat


I've also discovered that if your nails are short, you can further save money by cutting each nail strip into half - so that instead of wasting the free end (shown in the image in Step 3), you could use it for another nail - perhaps the same nail on your opposite hand. I've managed to do this successfully, but your nails have to be pretty short in order for this tip to work.

These strips lasted about 3 days on me - a bit shorter than if I had painted my nails myself, but given that they were very little trouble to put them on, I thought it was still worth it.

One thing makes me wonder though - these strips so happen to fit the curvature of my cuticles perfectly, but I'm wondering how they would work for other women with more square-shaped cuticles. Also, I'mm wondering how the strips would work for girls whose nails are differently-sized compared to mine. My sister is tiny, and I think most of the strips would probably be too large for her teensy nails. But on me, they fit perfectly, so I'm not complaining, and I imagine they'd be fine for most women. But I could imagine on very petite girls (I'm talking about having to get your clothes from the kids' department petite, not size 2 petite here), the strips might be too small.

These strips would probably appeal to women who want to wear nail polish for special events, but who don't wish to paint their own nails or hop into a salon. I don't foresee these replacing the traditional method of painting nails due to the higher cost, but I do think that Incoco products are a beautifully executed concept, and might be worth it for that special occasion.

(Product was sent to me for review. This is my honest and complete opinion of the product. I am not compensated by/affiliated with the company.)
Sunday, December 12, 2010

Nail Fraud

With Flash
Nail decals are everywhere these days.  I ordered Nail Fraud a while back.  They have really cool designs and they are a bit cheaper than other appliqués out there… But there was a big mix up with my order, it took them a while to get here.  I don't really know what happened, if there was a post office issue or if Nail Fraud messed up my order… in the end, I received my decals.
Read more »

Wednesday, October 27, 2010

Vamp

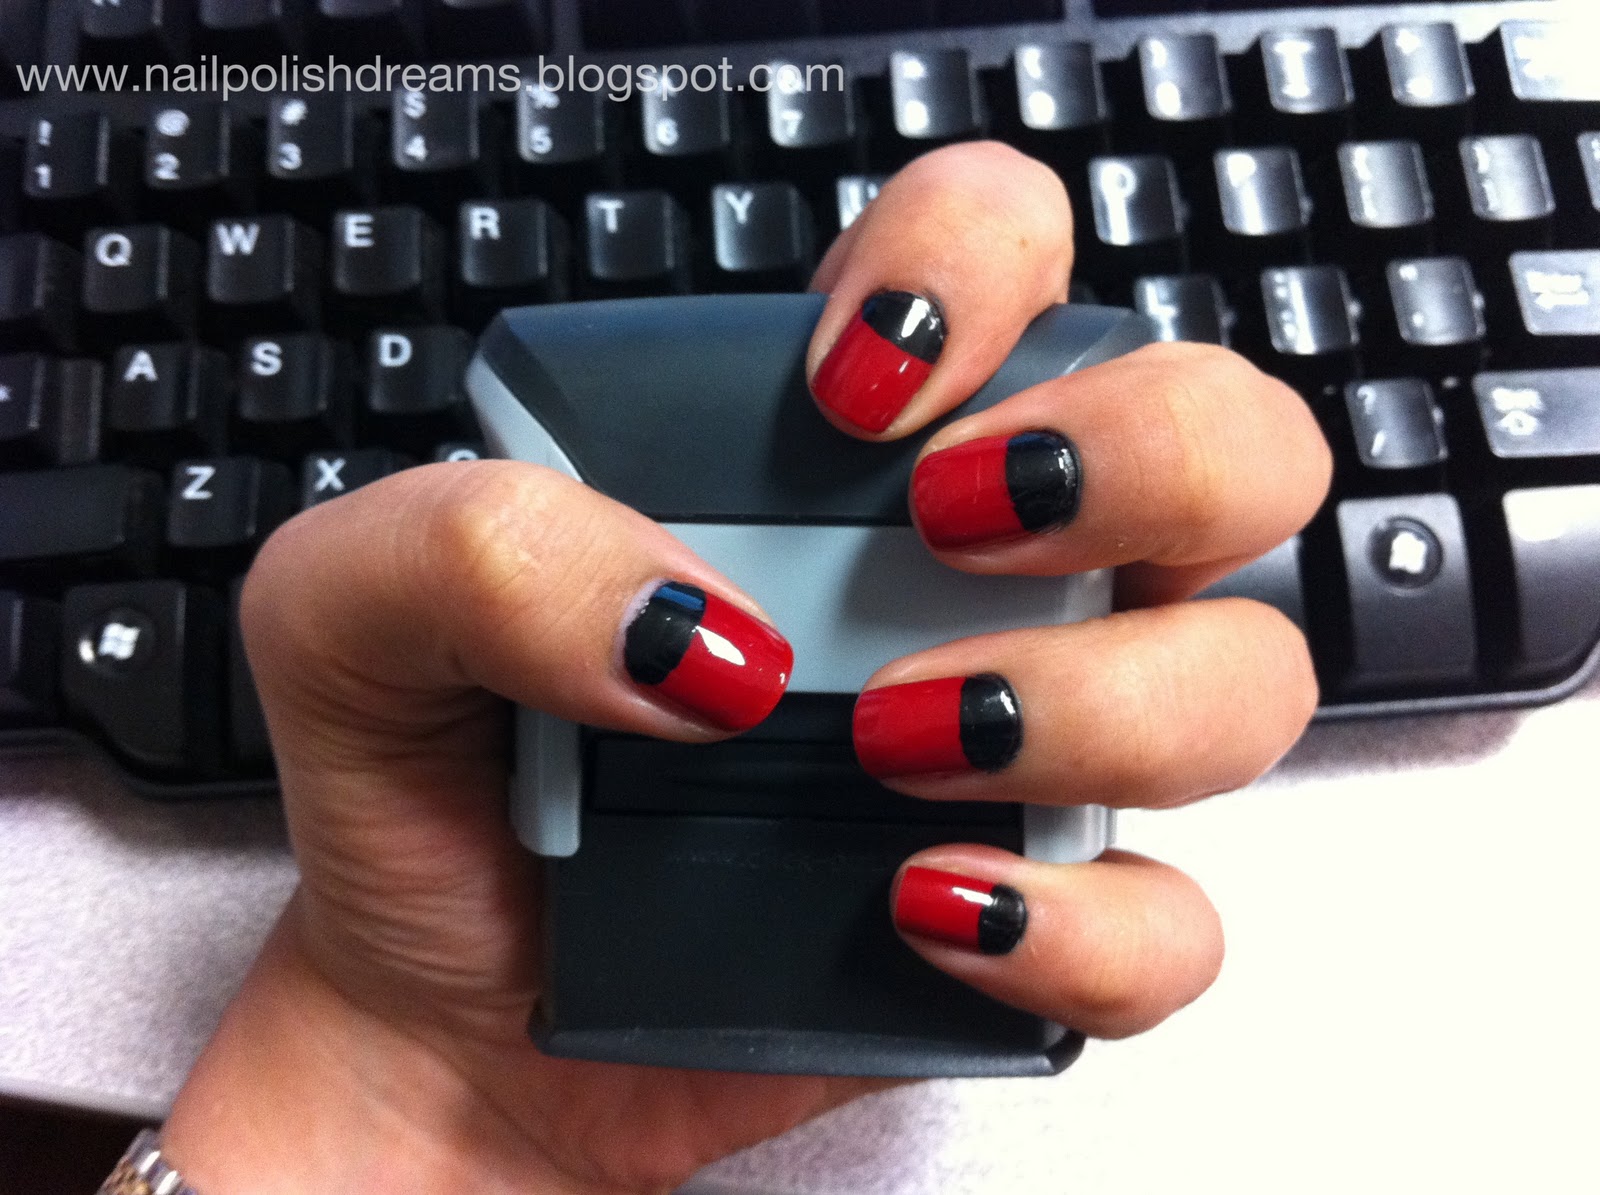
This is what i'm wearing as a "Halloween Mani", it is not as out there as an Orange-Black combination, or as jack-o-lantern patterns, but I think of it as a bloody, vampy, more sophisticated version of a halloween mani.  I started out with blood red nails as a base (Remember I was wearing those Incoco decals?) but you can wear any color that you like, maybe a shimmery orange.  Then, for the crescent moons, I used a nail art pen from Sally Hansen in Black Creme.  Nail pens are very easy to use and you can create so many looks with them, the possibilities are endless! So basically you just draw a half circle in the upper area of your nail and fill it out with the black pen (or you can use some other nail polish brush, it's up to you).  Sorry about the small pics,  I couldn't find my camera so I had to use my phone.


I wore the crescent moon mani for a day, then I decided to add some dots to make it more fun, and this is the end result.


Very simple, but I got so many compliments at work! I hope you guys like it.  I think it looks great by itself, I added dots, but you can add maybe a cool decal, or a rhinestone, or you can invert the colors in one of the nails, use different colors, do a little something different so you can make it your own. 


Sunday, October 24, 2010

Incoco Review


I've been intrigued by Minx nails for the longest time, without being able to try them, because there are NO nail salons that have them where I live.  The designs always look amazing, they seem convenient and very original.  
A few days back, I came across Incoco dry nail appliqué at my local drugstore.  They promise a professional looking mani that lasts up to 14 days, in minutes. The deal is, you need to buff and clean your nails before you apply it, then file off the excess paper.  For more info, go to www.incoco.com
I bought "Passion" which is a red creme that, truth be told, I found boring but I wanted to try them out and the store only had 2 or 3 creme shades.
Well, the application was no piece of cake.  While it's not very complicated, I thought it was going to be faster.  It probably took me the same amount of time as if I had applied liquid nail polish, maybe even more.  Also, since I'm new at this, my nails ended up with a few wrinkles, and when I was applying the paper, it kind of moved, so my sides are a bit jagged.  That was a drag, and as I was applying the nails, I had a bad feeling about them.  But when I was done, and took a long look at my nails, BAM! instant love!  They look perfect! They have the most amazing shine to them, the color looks intense, and they look very clean.  Now, this is my first day with them, I shall keep you updated about how they look as the days pass by.  So far, I think they look gorgeous.  See for yourselves.  

UPDATE: This is my fifth day wearing the appliqués.  So far, my free edges have chipped, but the wrinkles that I initially had disappeared within the first 24 hours and the nails looked perfect until yesterday.  I'm pretty sure the mani will look descent for quite some time, but I doubt I could go 14 days without changing it.